Cap and hat digitizing that sews clean from the center out
Send your design and tell us the cap type. A digitizer builds the file for the curve, the seam and the stiff front, so letters stay sharp and nothing puckers. You review a digital proof before you order.
- Built for the curve and the seam
- Structured caps, dad hats and beanies
- Bold text that stays readable
- Free revisions until you approve
What is cap and hat digitizing?
Cap and hat digitizing turns your logo into a stitch file made for a cap. A digitizer rebuilds the design for a curved, stiff front with a seam down the middle, then sets the stitch direction and a sewing order that runs from the center out.
A shirt file does not work on a cap. The shape, the fabric and the frame are different, so a cap needs its own file.
On this page
What cap and hat digitizing means for your design
A cap is not a flat shirt. The front is curved and stiff, there is often a seam down the middle, and the machine sews it on a special cap frame. A cap file is built for all of that.
The digitizer sets the stitch direction, the sewing order and the underlay for the shape of the cap. Letters stay bold enough to read on twill, and lines that cross the seam are built to stay straight.
What you send
- Your logo or design file, in any format you have.
- The cap type: structured, trucker, dad hat, beanie or another.
- The placement and the width you want.
What you get
- A stitch file made for the cap, in your machine's format.
- A digital proof to check before you order.
- Free revisions until you approve the sew-out.
Why caps need their own file
You cannot shrink a shirt file onto a cap and expect it to sew well. Four things change.
The front is curved
A flat design bends over the crown, so we keep it narrower and set the stitch angles for the curve.
The fabric is thick and stiff
Structured caps have a firm lining behind the front. We use a light underlay and the right density, so thread sits on top.
The seam sits in the middle
Many caps have a seam down the center. We avoid thin details on it and build lines that cross it so they stay straight.
The sewing order matters
A cap frame holds the fabric on a curve. We sew from the center out, so the fabric does not creep.
How cap and hat digitizing works
Every cap order follows the same four steps. There is no account to create and no minimum order.
Send your design and cap type
Fill in the quote form. Upload your logo in any format and tell us the cap type, placement and width.
We check the artwork on a cap
We view the design at its real cap size, mark the seam, and flag small text and thin lines. Then we send your price and any questions.
Review your digital proof
A digitizer builds the file by hand and a second one checks it. You see the design at real size on a cap outline, with thread colors listed.
Approve and sew
Once you approve, we send the final file in your machine's format. If the sew-out needs a change, send a photo and we adjust it.
Cap types we digitize for
Each cap style needs different choices. Tell us which you have and we set up the file for it.
| Cap type | What it is | What we adjust |
|---|---|---|
| Structured cap (6 panel, snapback) | Firm front panels with a lining and a center seam | Light underlay, center-out sewing and bold lines across the seam. |
| Trucker cap | Foam front panels and a mesh back | Lower density and bolder lines, so the foam is not cut. |
| Unstructured dad hat | Soft front with no stiff lining | Firmer underlay and lighter density, so it does not pucker. |
| Beanie and knit cap | Stretchy knit, often with a cuff | Bold, simple shapes on a stitch base, so thread does not sink. |
| Bucket hat and visor | Soft crown with a brim or a flat front | Size and underlay chosen for the crown or the brim. |
Not sure what to call your cap? Send a photo and we will tell you.
Before and after: caps in thread
Each pair shows the original design next to the stitched sample. Drag the needle to see what changed.


Design fileStitched
Round badge for a high-profile cap
A mountain badge sent as a small, soft JPG. Its edges were redrawn and it was sized for a structured cap front.
- Soft edges redrawn into clean outlines.
- A narrow satin border keeps the edge crisp.
- Fills split into zones so large areas stay flat.
- Size
- 2.5 in wide
- Stitches
- 7,800
- Fabric
- Indigo twill cap
- Files
- DST, PES
Design fileStitched
Raised 3D puff lettering
Bold lettering for a dark structured cap, built with foam coverage and capping stitches. 3D puff is its own service.
- Letters kept thick so the foam is fully covered.
- Capping stitches run across the foam in one direction.
- Fine details left out; foam cannot hold them.
- Size
- 4 in wide
- Stitches
- 14,200
- Fabric
- Dark twill cap
- Files
- DST
Design fileStitched
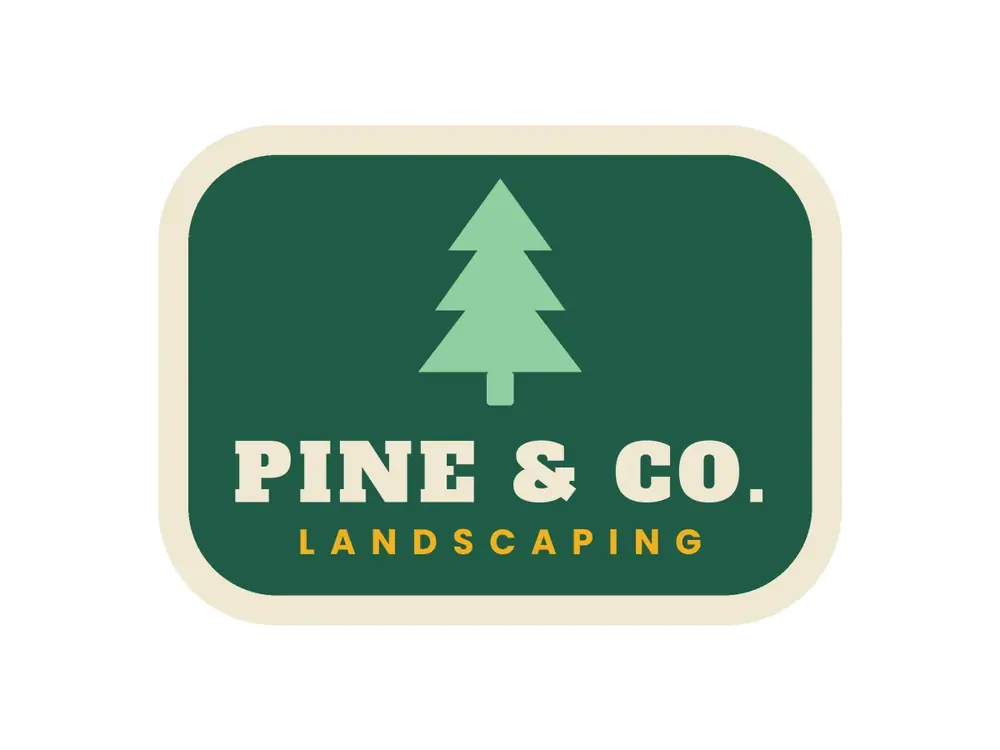
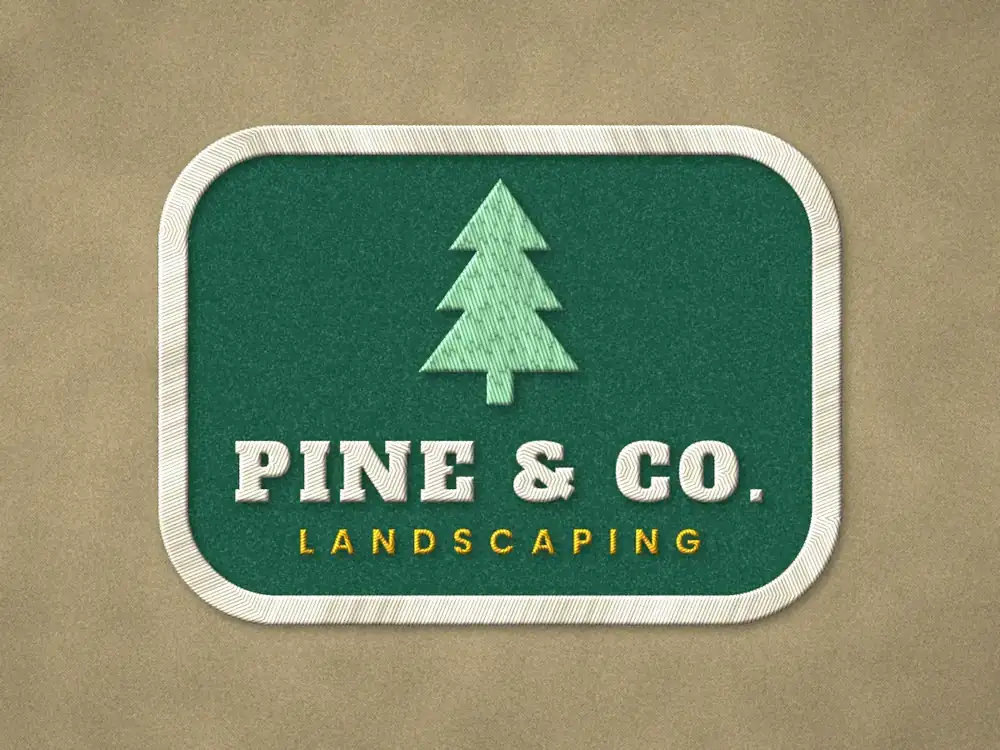
Patch for the front of a cap
A landscaping patch with a cream border, made for the front of a cap. Patch work is its own service.
- Border width matched to the patch size.
- Small lettering simplified so it holds on the patch.
- Sized to sit inside the cap front.
- Size
- 3 in wide
- Stitches
- 11,300
- Fabric
- Khaki canvas
- Files
- DST, PES
Sample designs shown for layout preview.
Cap sizes and placements
Where the design goes decides its size and how much detail it can hold.
| Placement | Typical size | What to expect |
|---|---|---|
| Cap front | About 2 inches tall, 3.5 to 4.5 inches wide | The most common placement. Keep the design simple and bold. |
| Side panel | About 1.5 inches tall, 2.5 inches wide | A small icon or a short word, often a second logo. |
| Back, above the strap | About 1 inch tall, up to 4 inches wide | A short line of text, such as a website or year, often in an arch. |
| Brim | About 1 inch tall, 2 inches wide | Thick and stiff, so we keep it to one simple shape. |
| Beanie cuff | 2 to 3 inches wide | A bold wordmark or icon. Fine details sink into the knit. |
Sizes are examples. Tell us the cap and the width you want and we fit the file.
What to send for a cap design
The cleaner the file, the faster and sharper the result. You do not need a perfect file to start.
Best to send
- A vector file: AI, EPS, SVG or PDF
- A PNG with a clear background, at least 1,500 pixels wide
- The cap type and the cap color
- The placement and the width you want
- Thread colors, as numbers or names, if you have them
Also works
- A JPG from your website or social page
- A photo of a cap you already have embroidered
- A sketch or a photo of the design
- A low-resolution file, which we may redraw first
Cap and hat digitizing prices
The price depends on design size, detail and stitch count. These are starting prices. Your quote is the exact figure.
| Design | What it means | From |
|---|---|---|
| Simple cap front | Text or one to two colors, up to 4 inches wide | $14 |
| Standard cap front | Three to five colors, or an icon with a name | $20 |
| Detailed cap front | Six or more colors, small text or fine lines | $28 |
| Side or back placement | A short word or a small icon | $10 |
Rush service is available. We quote it with your price. 3D puff and patches are priced on their own pages.
Caps we have digitized
A few finished designs, stitched from the cap files we built.

Salt & Sun Surf Co.A sun over waves, stitched on a teal cap front. 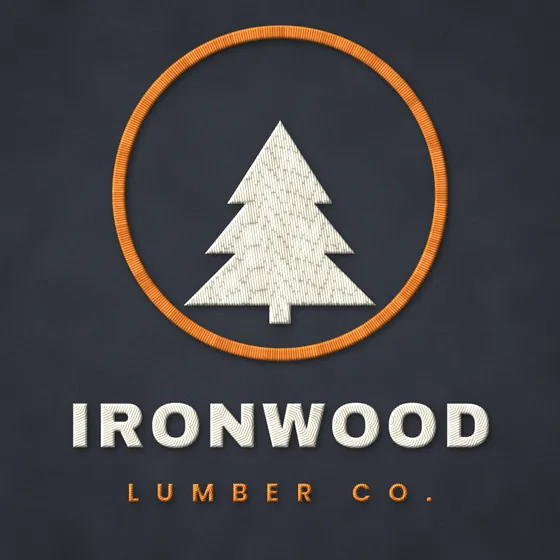
Ironwood Lumber Co.A pine in a ring with bold lettering, stitched on a charcoal cap. 
Big Sky RanchA horseshoe and star with slab lettering, stitched on a brown cap. 
Eastside EaglesA team star in a ring, stitched on a maroon cap.
Sample designs shown for layout preview.
Have a cap to stitch?
Send your design and the cap type. Get a price and a digital proof before you order.
Guides for cap orders
How big should a cap logo be?
A simple guide to front, side and back sizes.
Structured or unstructured cap: what changes in the file?
Why a dad hat needs a different file than a snapback.
Why does my cap logo pucker?
The common causes and what to check first.
Cap and hat digitizing questions
Can't find your answer? Send a message with the Get a Quote form and we will reply.
How much does cap and hat digitizing cost?
Cap digitizing starts at $14 for a simple cap front, $20 for a standard one and $28 for a detailed one. Side and back placements start at $10. Your quote is the exact price.
How long does cap digitizing take?
Most cap files are ready in about 24 hours. A large or very detailed design can take a little longer. Rush service is available.
Can I use my shirt logo file on a cap?
Not usually. A cap is curved and stiff, and the machine sews it on a cap frame, so the size, stitch direction and sewing order all change. Send the logo and we rebuild it for the cap.
What size should my cap design be?
Most cap fronts take a design about 2 inches tall and 3.5 to 4.5 inches wide. A high-profile cap can take a little more height. Tell us the cap and width, and we build the file at that size.
How small can the text be on a cap?
About 0.25 inch tall is a safe minimum on most caps. Below that, letters fill in on twill. We make them bolder, suggest a larger size or simplify, and show you in the proof.
Do you digitize for trucker caps, dad hats and beanies?
Yes. Tell us the cap type when you order. We adjust the underlay, density and sewing order for structured caps, foam-front trucker caps, soft dad hats, bucket hats and knit beanies.
Can you stitch the side or the back of a cap?
Yes. Send the design and tell us the spot. A side panel takes a small icon or short word. The back, above the strap, suits a short line of text.
Is 3D puff the same as normal cap embroidery?
No. 3D puff puts foam under the thread to raise the letters, so it needs thicker letters and different stitches. It is its own service with its own price.
What if my cap puckers or the seam distorts the design?
Send us a photo and tell us the cap type, backing and machine. We find the cause and adjust the file. Revisions are free until you approve the sew-out.
Which file format should I ask for?
Ask for the format your machine reads. DST is the safest choice for most commercial machines. We also send PES, EXP, JEF, HUS, VP3, XXX and EMB.
Other digitizing services
Your cap design may also need a logo file, 3D puff lettering or a patch. These services cover those and more.

Custom embroidery digitizing
Logos, lettering, monograms and other personalized embroidery, digitized from scratch. We choose stitch types and density to suit your fabric.
Best forAny design, any placement
From$12
Logo digitizing
Logo digitizing for embroidery that keeps small text readable on polos, tees and uniforms.
Best forLeft chest and sleeves
From$12
3D puff digitizing
Bold, raised lettering and shapes, with the right foam coverage and capping stitches.
Best forCaps and hoodies
From$18
Jacket back digitizing
Big designs built to keep heavy fabric flat and run time low.
Best forJacket and sweatshirt backs
From$35
Applique digitizing
Placement, tack-down and cover stitches planned so cut fabric stays put.
Best forTeam wear and letterman jackets
From$18
Patch digitizing
Borders, fills and lettering set up for embroidered patches.
Best forCustom embroidered patches
From$18
Vector art conversion
Turn a blurry JPG or PNG into clean AI, EPS and SVG files. Ready to digitize or print.
Best forPrint, cutting and digitizing prep
From$10
Ready to see your design on a cap?
Send your design and the cap type, and get a price and a digital proof before you order. There is no account to set up and no minimum order.